The following are instructions for setting up a connection to an Active Directory (AD) Domain secured SQL Server using either SQL Server Management Studio or Visual Studio. This is especially applicable when not using a domain attached PC.
Step-by-step guide
In order to successfully connect you need to start the application of choice in the necessary Active Directory Domain user context.
- Right-click on your desktop and select New

-
Now paste in the appropriate command line as below into the ‘Type the location of the item:‘ field, replacing the ‘{username}‘ with your AD Domain username. (also change the path to a suitable location for you app or version etc..)
For SQL Server Management Studio 17 (SSMS)RUNAS /user:{AD domain}\{your username} /netonly "C:\Program Files (x86)\Microsoft SQL Server\140\Tools\Binn\ManagementStudio\Ssms.exe"For Visual Studio 2017
RUNAS /user:{AD domain}\{your username} /netonly "C:\Program Files (x86)\Microsoft Visual Studio\2017\Enterprise\Common7\IDE\devenv.exe"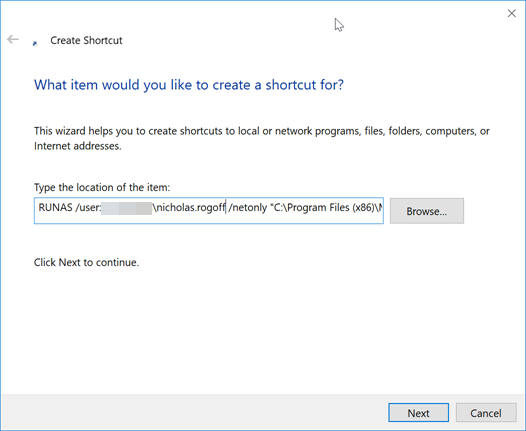
- Click Next and give your new shortcut a suitable name. (e.g. ‘ssms – on domain’ or ‘vs2017 – on domain’)
- When you double-click on your new desktop shortcut you will be prompted to enter your AD Domain password in a command window.

-
The app will now start in the correct context when connecting over the network. (Note: you may get some errors the first one or two times you start SSMS, but just close and try again.)
NOTE: Incorrect password
If you enter the wrong password the program will still start, but you will fail to connect. To see a failure run the same commend in the dedicated command window.
- Now you can create a registered server as normal. Choose Windows Authentication.
e.g.

For more information see: